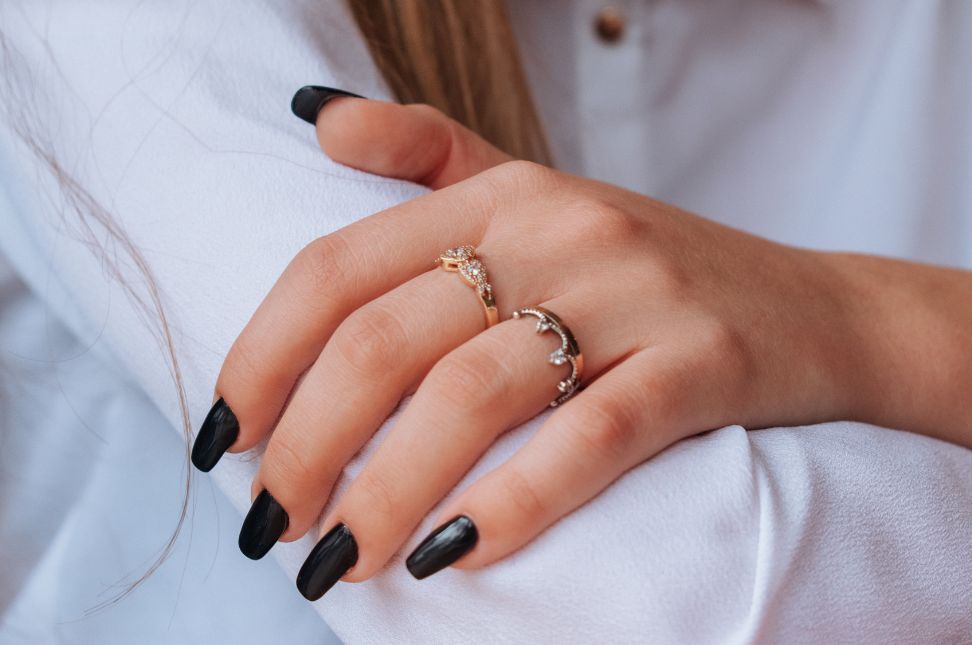
Learning how to do salon-quality gel nails at home can save you both time and money. With the right tools, technique, and products, you can achieve long-lasting, chip-free nails that look just as professional as what you would get in a salon. Whether you want to maintain your nails between salon visits or completely switch to DIY manicures, this guide covers everything you need to know.
Why Choose Gel Nails Over Regular Polish
Gel polish lasts longer and offers a glossier finish than traditional nail polish. Once cured under a UV or LED lamp, gel nails can stay intact for up to three weeks without chipping or peeling. It is also perfect for people with busy lifestyles who cannot afford regular touch-ups.
Gel nails dry instantly under the lamp, which eliminates the risk of smudging. With proper application and removal, they are also gentler on the nails than acrylics.
If you enjoy low-maintenance beauty routines, you might also be interested in our guide on low maintenance haircuts for busy women, which can pair perfectly with your polished nails.
What You Will Need for At-Home Gel Nails
Essential Supplies
- Gel base coat
- Gel color polish
- Gel top coat
- UV or LED curing lamp
- Nail buffer and file
- Cuticle pusher
- Rubbing alcohol or gel cleanser
- Lint-free wipes
Optional but useful tools include nail primers, cuticle oil, and a nail brush for cleaning.
Invest in good-quality gel polish and a trusted curing lamp to get the best results. Many beauty professionals recommend brands like OPI, Gelish, and Beetles for home use.
Step-by-Step Guide to Apply Gel Nails at Home
Step 1: Prep Your Nails
Start by removing any old polish using a non-acetone remover. Wash your hands thoroughly and dry them. Trim and shape your nails using a file. Gently push back your cuticles with a cuticle pusher. Buff the surface of your nails to remove any natural shine. This helps the gel adhere better and last longer.
Step 2: Clean and Prime
Use a lint-free wipe soaked in rubbing alcohol to clean your nail surface. This removes dust and oil. If your nails are prone to chipping, consider using a nail primer before the base coat.
Step 3: Apply Base Coat
Apply a thin layer of gel base coat, making sure not to flood the cuticle area. Cure under a UV or LED lamp according to the product instructions. Most base coats cure in 30 to 60 seconds.
Step 4: Apply Gel Color
Apply your chosen gel color in thin, even strokes. Cure each layer before applying the next. For best results, apply two coats of color, curing each for 30 to 60 seconds.
Step 5: Seal with Top Coat
Finish with a thin layer of gel top coat to seal the color and add shine. Cure under the lamp for the full time recommended. This final layer locks in your polish and prevents chips.
Step 6: Clean and Hydrate
Use a lint-free wipe with rubbing alcohol to remove the sticky residue left after curing. Finally, massage cuticle oil into the skin around your nails to hydrate and nourish.
How to Remove Gel Nails Safely at Home
Never peel off gel polish as it can damage your natural nails. Instead, file off the top layer, soak a cotton ball in acetone, place it on the nail, and wrap it in foil. Leave it for 10 to 15 minutes. Once the gel softens, gently push it off using a cuticle stick.
Common Mistakes to Avoid
- Applying thick coats of gel polish
- Not capping the free edge of the nail
- Skipping the nail prep steps
- Using a weak or old UV lamp
- Not curing the layers properly
Avoiding these errors can significantly extend the life of your gel manicure.
Benefits of Doing Gel Nails at Home
Doing gel nails at home gives you flexibility and creative freedom. You can experiment with colors, nail art, and designs without scheduling appointments. It is also cost-effective in the long run. Once you invest in a lamp and a few polishes, you can perform dozens of manicures for the price of one salon visit.
According to Elle Magazine, DIY gel nail kits have become increasingly popular, especially among people looking for salon results without leaving home.
Final Thoughts
Now that you know how to do salon-quality gel nails at home, you can enjoy beautiful, long-lasting nails whenever you want. With a little practice, the process becomes quicker and easier. Just follow the steps carefully and invest in good products for the best outcome.
Whether you are looking to upgrade your beauty routine or enjoy some self-care time, gel nails at home are a rewarding skill to learn. For more beauty and grooming insights, explore Keralam Chronicles for helpful articles and inspiration.


